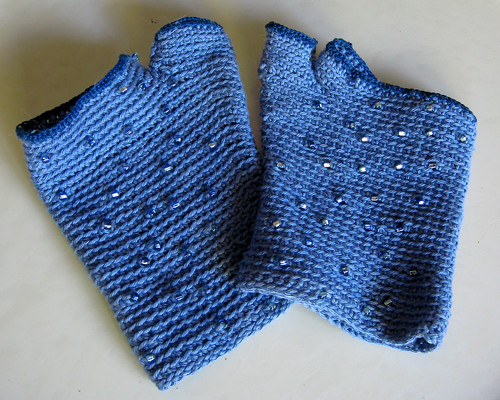
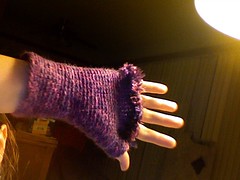
Yesterday went by in a trance of sock-weight yarn. I finished my first sock ever, a little sockette, and was almost done with the other sock by the end of the day. It’s all i did, selecting “next episode” of the streaming Highlander over and over while Christine was at her mandolin lesson and at her tutoring. Too late, as Christine was just finishing up her warm up and tuning to leave, did i realize i could have gone with her to her lesson. At that point, i didn’t realize i was going to crochet all day.
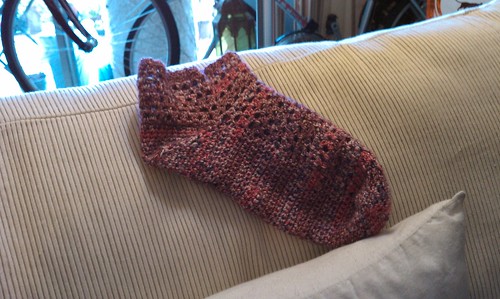
I weighed my sockette and the remaining yarn and found i will get *almost* a pair out of the light fingering weight ball (230 yards/50 grams/1.76 ounces = 130 ypo). I have two skeins of this inherited yarn. I can stretch the self striping yarn if i do heels and toes out of some solid sock-weight yarn.
One of the lessons about yarn craft that surprised me is the design importance of the weight and behavior of the yarn itself. It’s obvious once you think about it, but the incredible variation in material still surprises me. Each step introduces a different behavior: the source fiber, the spinning, the plying. It drives me mildly nuts that there isn’t a very standardized yarn description. The fiber content is usually pretty clear. The weight of the yarn can be deduced, the ply is some times reported. There is a metric, wraps per inch, that would give the sense of bulk of the yarn, but that’s rarely reported. One could have a loosely spun and tightly spun yarn which has the same yardage per ounce.
Then there are often a knitters gauge reported (n stitches per some swatch size on some sort of needle) which is maddening: i don’t knit, and even if i did, stitch per inch can be so variable. I suppose this is an attempt to get at wpi — but why not just report wpi?
Why do i care? Well, i’d like to buy some heel and toe yarn, now that i’ve determined i can do this sock thing. Heel and toe yarn could be neutral, and the pretty pretty hand dyed sock yarns make the visible bits. So i begin shopping: it turns out the yarn i have is a little lighter than your average sock weight (130 yards per oz compared to 106 yards per oz). EBay has destashed sock yarn available: what’s a fair price?
Well, first i have to find what i’d be likely to buy at retail. It seems Knit Picks carries a light fingering weight at roughly $2 per oz in a good blend.
A regular sockweight yarn, undyed, at Dharma would be $2.43/oz.
I’m tempted by a silk noil sock yarn at Dharma because i could dye it myself with the fiber reactive dyes i like. It would be unsuitable, i believe, for heels and toes. Noil is a short fiber, and i suspect it would wear poorly on the heels.
I did read about a luxury sock yarn Lang Jawoll, that comes with “a bonus spool of matching reinforcement yarn to carry along when knitting the toes & heels, the parts that get the most wear.” I wonder about adding plain nylon threads to carry along in toes and heels. It seems like a straightforward solution.
What i’d like to figure out is how to cover the bottom of the sock with something like hemp to make slippers with a rugged base but soft and pretty top. I suppose i could just sew a hemp sole to a sock. The silk noil yarn could make the top and foot facing sole. And there’s the fun of uppers for the mohops (although i’ve bought silk ribbon from Dharma with the intention of using that for mohop uppers.
Read the rest of this entry »